T07 - Enter Labor & Work Logs in Maximo – Trades
Purpose: To enter labor hours and work logs on Maximo work orders
When: Labor (time) has been completed on a work order
Who: Tradesperson
Resources to Complete Tasks: A computer. A Maximo account, with Trades access.
STEPS NEEDED:
-
Log into Maximo with your Cornell NetID and password.
- Go to https://fcs.cornell.edu/maximo
- Under Quick Links menu on right side
- Click “Maximo Production”
- Enter login information & click "Sign In"
-
Go to the Work Order Tracking application and find your work order(s)
- On the top left of the screen, click (hamburger menu) Go To – Work Orders – Work Order Tracking
- If the work order number is assigned to you, do the following:
- On the top left of the screen, click the arrow to bring up the list of queries:
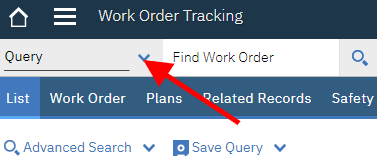
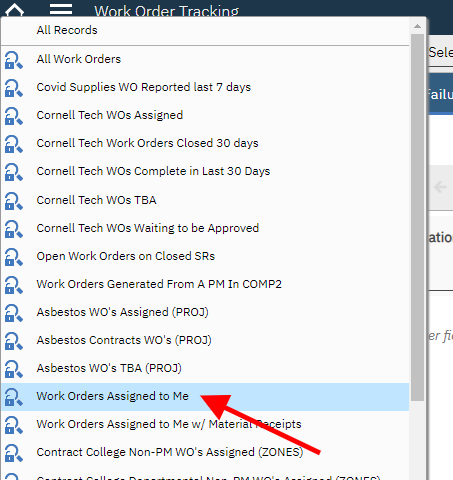
- Select the “Work Orders Assigned To Me” query
- On the top left of the screen, click the arrow to bring up the list of queries:
- If the work order is not assigned to you, do the following:
- Type the work order # in the search box at the top of the screen. Then, click the magnifying glass or the Enter button on your keyboard.
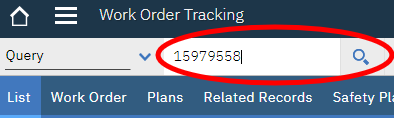
- Type the work order # in the search box at the top of the screen. Then, click the magnifying glass or the Enter button on your keyboard.
-
Open a work order
- The List tab will show the query results or your search results
- To filter the list more, do the following
- If necessary, click the “Filter” button to show the boxes on the top of the columns.
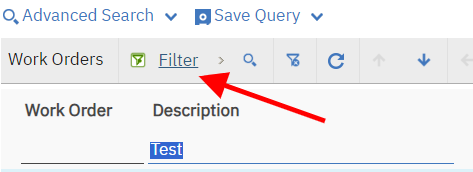
- Type your search criteria in any of the boxes, and click Enter on your keyboard.
- If necessary, click the “Filter” button to show the boxes on the top of the columns.
- Click on the work order number you will be entering labor on
- The work order record will open on the “Work Order” tab
- (To return to the list of work orders, click on the “List” tab)
-
Create a labor entry (regular hours)
-
Click on the “Actuals” tab
- At the bottom left, click the “New Row” button
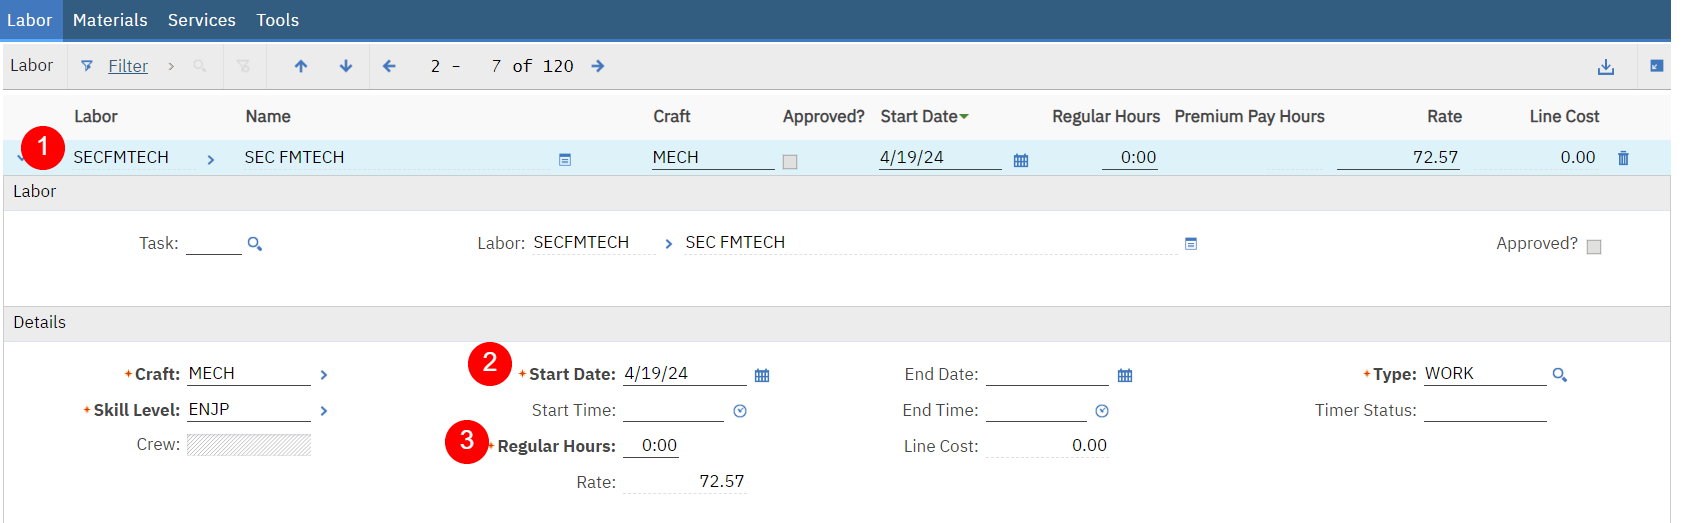
- In the Labor field, enter your NetID (1), then click the Tab key on keyboard. Your Name, Craft, Skill, and Rate will automatically populate.
- If necessary, edit the Start Date (2), click Tab key on keyboard
- Enter the number of Regular hours (3), click Tab key on keyboard. The Line Cost will calculate.
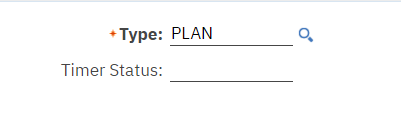
- If actual work has NOT been started, and the labor being entered is for “planning” time (inspect the work location, order materials, etc.), change the “Type” to PLAN. This will keep the WO in APPR status and will not trigger the status change to INPRG.
- Important: review your entry and make sure it is correct.

- Click the Save button at the top middle of the page.
- Note: once the record is saved, it cannot be edited. A separate negating entry would be necessary if it was entered incorrectly.
-
-
Create a labor entry (premium pay hours) – if applicable
-
Follow steps a ‐ b in Task 4 for Entering Regular Hours, but leave the Regular Hours field blank.
- In the Premium Pay Code field, enter a premium pay code, then click the Tab key (or, click the magnifying glass and select a code from the list).
- In the Premium Pay Hours field, enter the number of Premium Pay hours, then click the Tab key.
- Important: for Callbacks (CBK), enter the # of hours actually worked. If the # of hours is less than 2.7, it will automatically change the # of hours to 4 and keep the pay rate 1.0. If the # of hours is 2.7 or greater, it will keep the # of hours and change the pay rate to 1.5.
- Follow the remaining steps c – f in Task 4 above.
-
-
Create a Work Log entry
All labor entries against a CM work order requires a work log indicating work performed. Work logs for PM work orders are only required when deviating from the job plan.-
Click the “Log” tab
-
Click “New Row” button on the bottom left.
-
The “Created By” field will automatically display your NetID
-
The “Date” field will populate today’s date
-
-
Type work log information in the Details field. If you are typing a work log for a different day, add the date before your text.

-
Important: review your entry and make sure it is correct.
-
Click the save button at the top of the page.
-
Note: once the record is saved, it cannot be edited.
-
-
Return to work order list or Start Center
-
To return to your list of work orders, click the List tab.
-
To return to your Start Center, click “Start Center” on the top right of the screen.
-
The Result Will Be: Labor hours and a work log will be entered and saved on a work order.